First Time Configuration Wizard
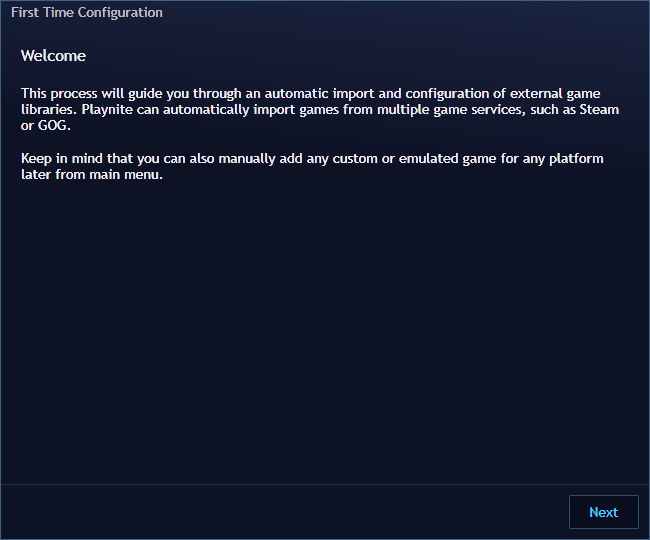
The first time you open Playnite, you will encounter the First Time Configuration wizard, designed to help you set up your gaming library efficiently.
Note
It's important to mention that any configuration or action performed during the wizard can be adjusted later in the add-ons configuration window, even after it completes. For more information refer to here.
Follow these steps to get started:
- Library Integrations Selection: On the wizard screen, carefully follow the on-screen instructions.
Select the library integrations you want to install and use.
Click
NextPlaynite will proceed to download and install your chosen library extensions.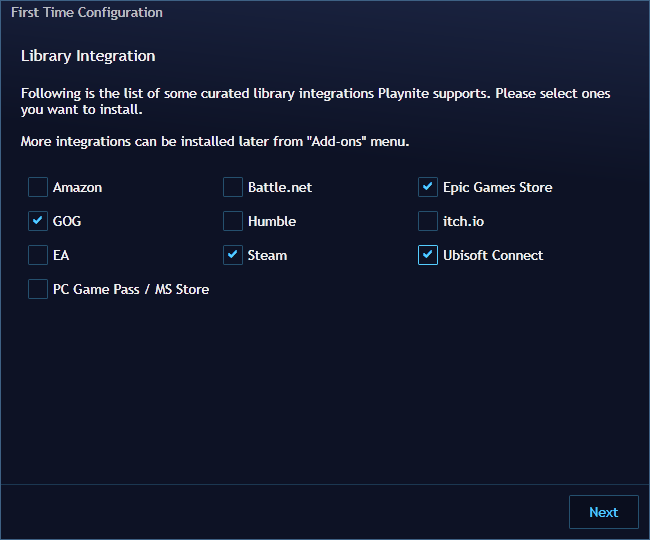
Configuration for Installed Plugins: After the installation of the library extensions, you'll be presented with a configuration screen for each plugin. Make sure to configure each one according to your preferences and requirements.
Note
Note that, for most integrations, you may need to authenticate to import all the games in your account. Authentication requirements can vary for each library integration.
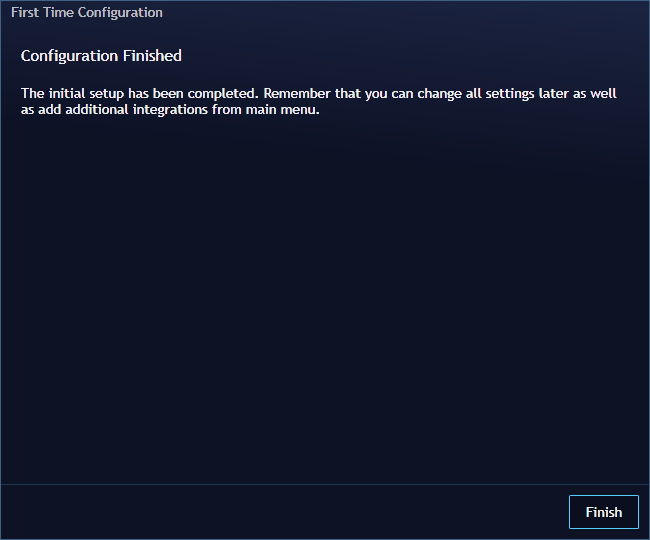
Finalize Setup: Once you've completed the configurations for each of the integrations, click "Finish" to conclude the first-time setup configuration.
Importing Games: With the setup complete, Playnite will launch in Desktop Mode and start importing games from the libraries you configured.
Adding additional games: You can also add games into the library manually, game import is not limited to library integrations only. For emulated games see this page. For any game in general see this page.
This wizard ensures that Playnite is tailored to your gaming library, making it a seamless and personalized experience from the very start. You can always revisit and adjust these settings later to suit your changing preferences in the add-ons configuration window. For more information refer to here.