Adding new emulators
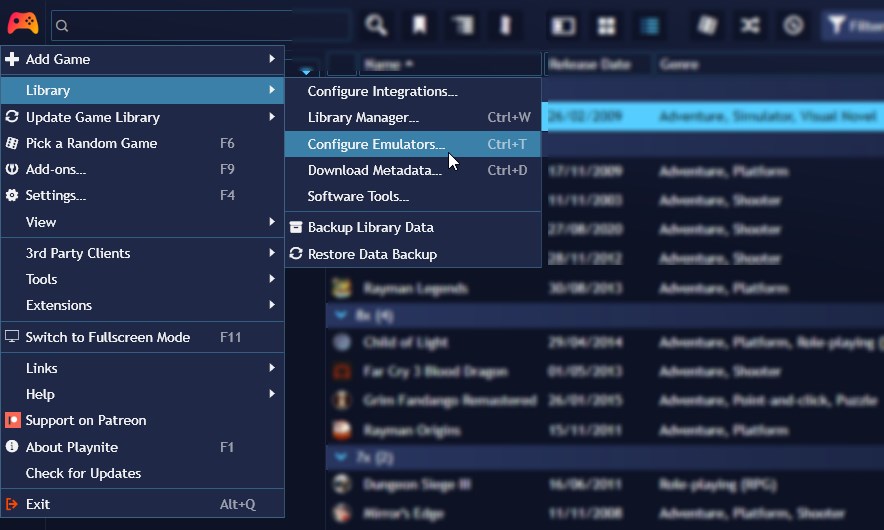
To start adding a new emulator, navigate to Main menu > Library > Configure emulators… on Playnite Desktop Mode to open the Emulators configuration window.
Playnite has a support for handling and importing of emulated games. The support is implemented in two ways:
Automatic Emulator Detection (Built-in support)
Playnite features an automatic emulator detection system that can identify several known emulators installed on your system that, with support to automatically configure them. This also includes import of emulated based on libretro game database.
To automatically import an emulator follow these steps:
Click
Importto open the Emulation import wizard windowClick
Scan folderto open a files explorer window, select the folder where your emulator is located and wait for the scan to finish.Verify that the emulators you want to import are being displayed in the list and finally click
Importto add the emulator.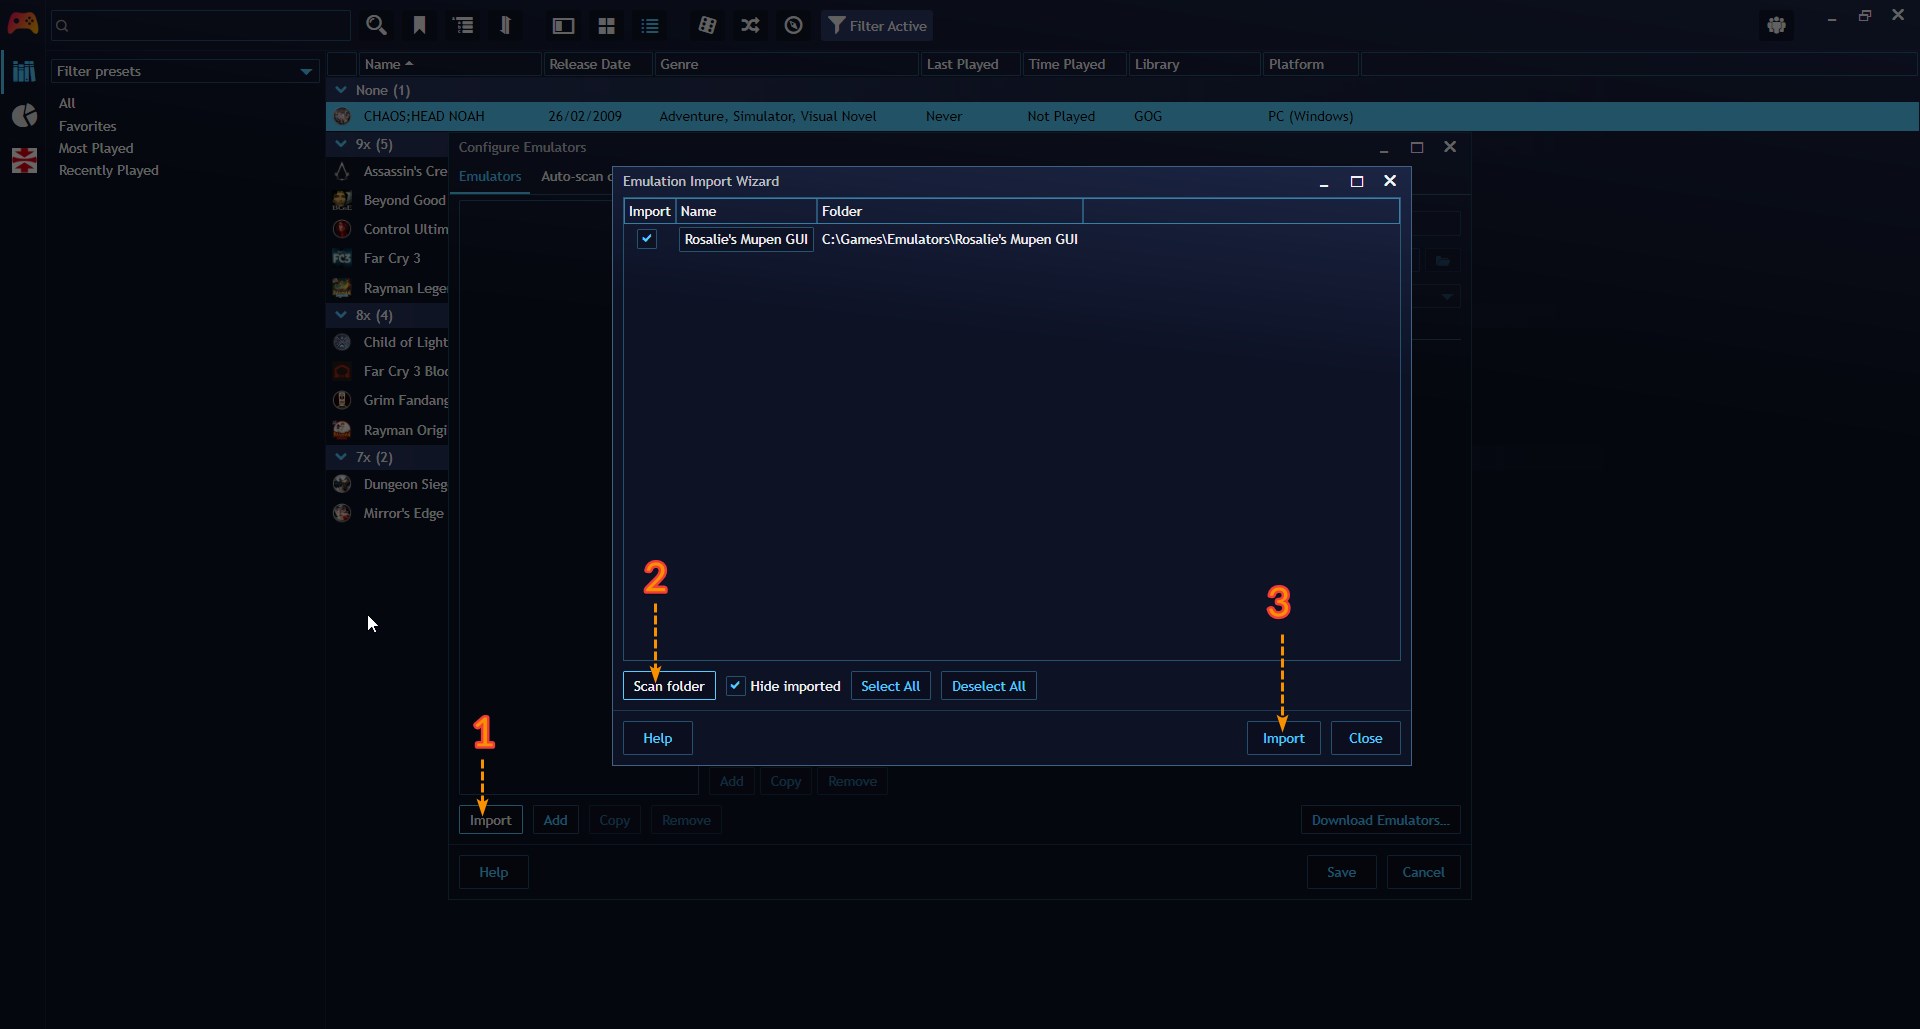
If your emulator was not found, it means that Playnite doesn't have an automatic configuration for it. Continue to the next section to learn how to manually add the emulator.
Note
If you find that an emulator is missing and you think that it should be added to built-in supported emulators list, please open new issue on GitHub for it to be added.
Manual emulator configuration
If Playnite doesn't automatically detect your emulators, or if you prefer manual configuration, you can add emulators manually.
To manually add emulators:
Click the
Addto create a new emulator entry.Enter the emulator information like the emulator
NameandInstallation Folder. Also select your emulator inEmulator specificationif it's availableSelect
Addto create an emulator profile. If you selected anEmulator specificationin the previous steps, automatic configurations will be available to select. If you wish to use your own configuration or there is not any configuration available selectCustom profileand proceed to the next section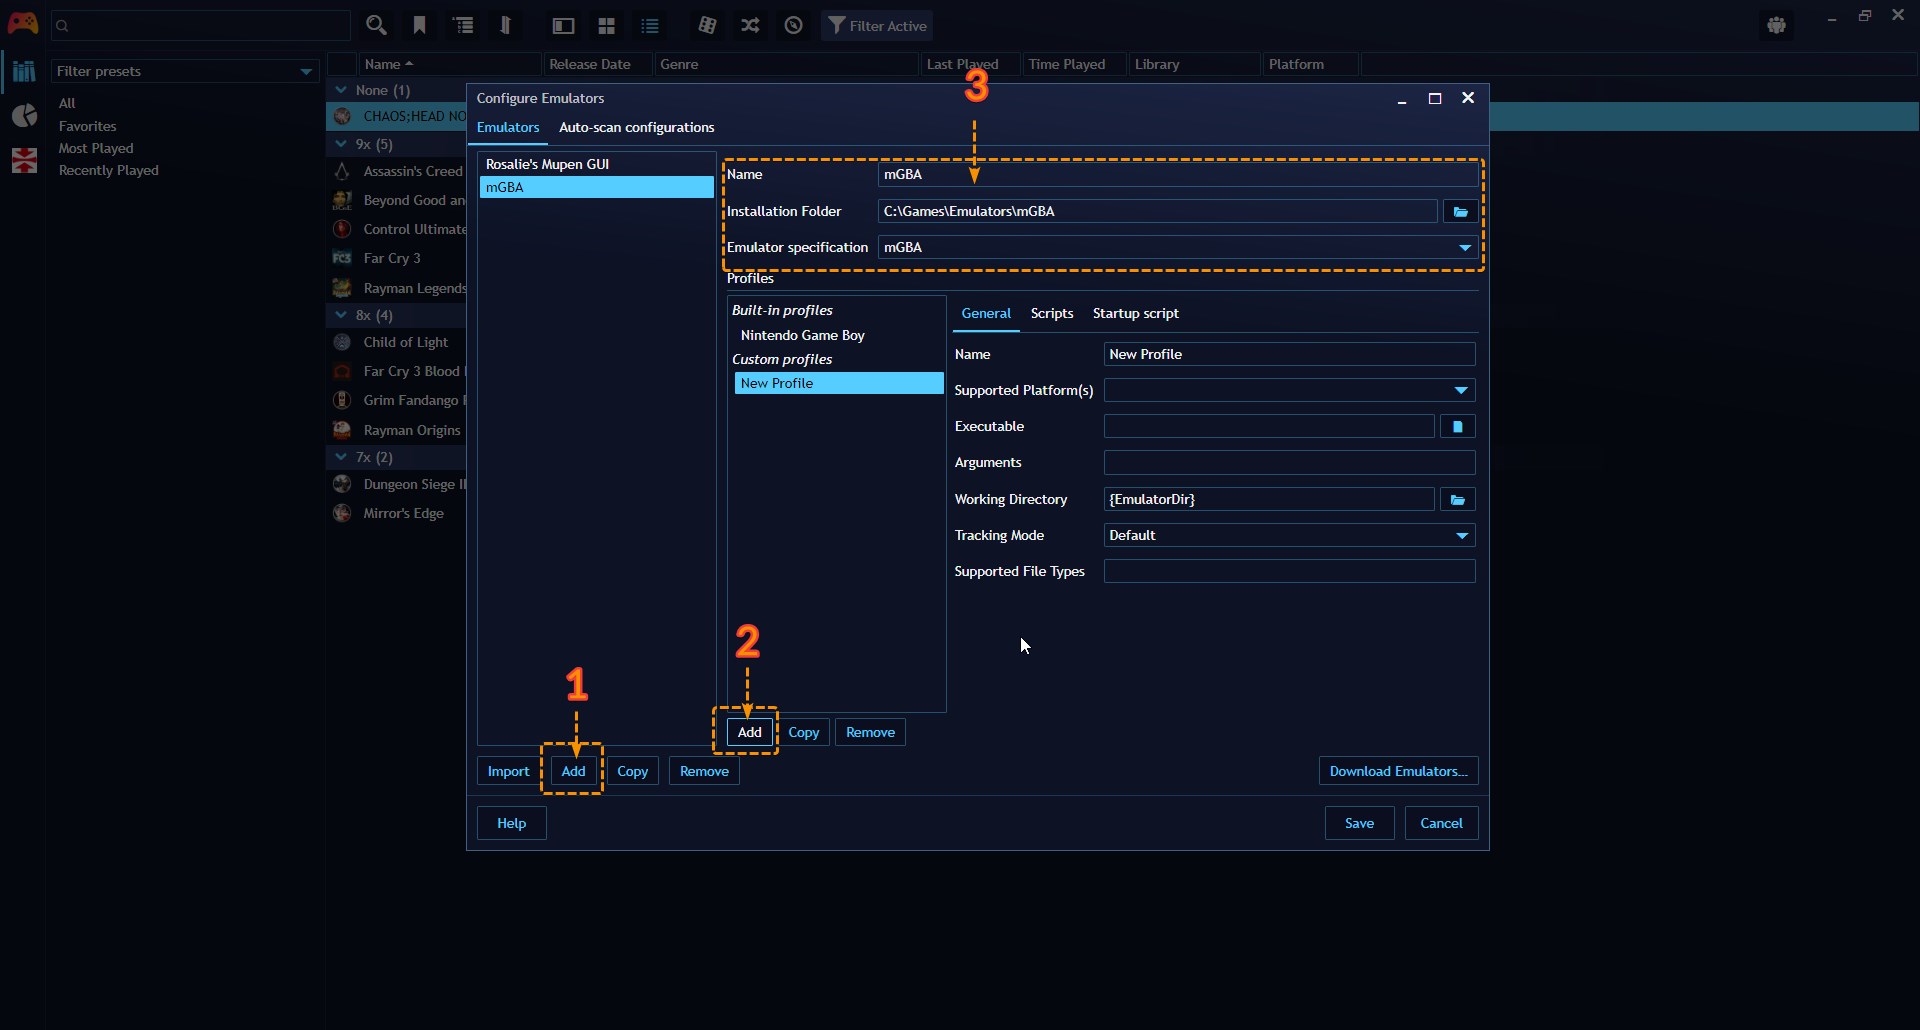
Configuring a custom emulator profile
After creating a manual Custom profile in the previous step, you'll need to create a new emulator and configure its properties.
For this example we'll be using the mGBA emulator:
Input a
Namefor the profile and select theSupported Platform(s)for the profile. If your platform is not available in the dropwdown, you can add aditional ones in the Library Manager, located inMain menu>Library>Library Manager…Select the emulator executable
Input the
Arguments. To know the arguments, refer to the specific emulator documentation online. Looking online, we've found this documentation: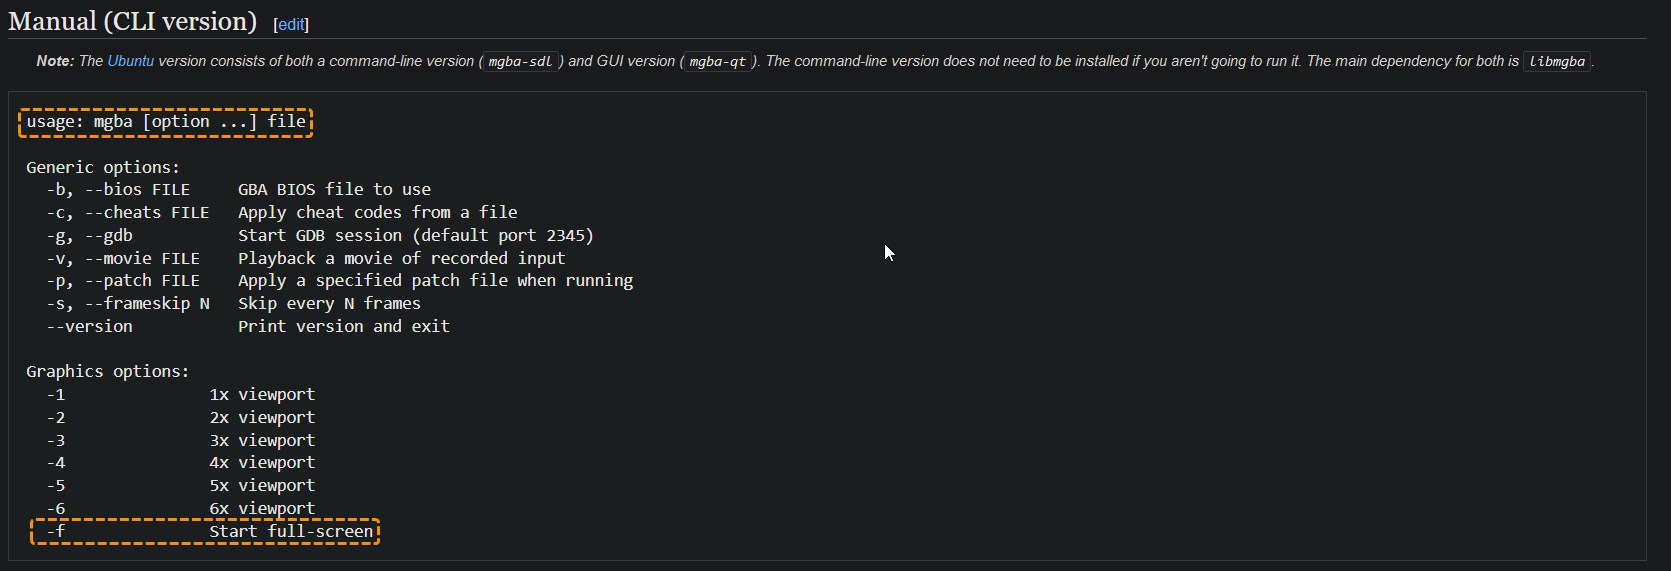
mgba refers to the emulator executable. The options bracket is optional but we'll use the -f graphics option to start the emulator in fullscreen and finally file refers to the game file path.
The full Arguments line we'll end with is -f "{ImagePath}".
Note
The {ImagePath} part is a game variable that points to the game image/rom path. Generally most emulators accept this argument but it will depend in the specific emulator. For a detailed explanation of game variables during game start refer to Game Variables.
Configure the
Supported File Typesavailable in the documentation. Alternatively if you didn't find any, it is suggested to see what file types are available in the file selection dialog in the emulator itself.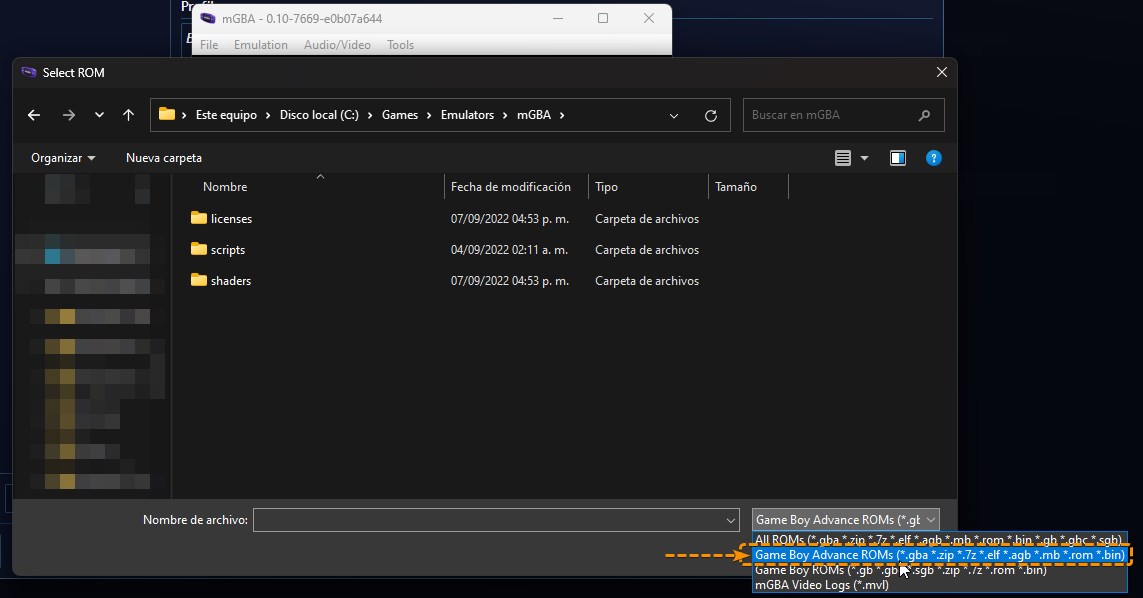
In this example, we end with gba,zip,7z,elf,agb,mb,rom,bin
Warning
The supported file types list must be separated with a comma ",", not contain the period "." or spaces!
After finishing, click
Saveto save the changes.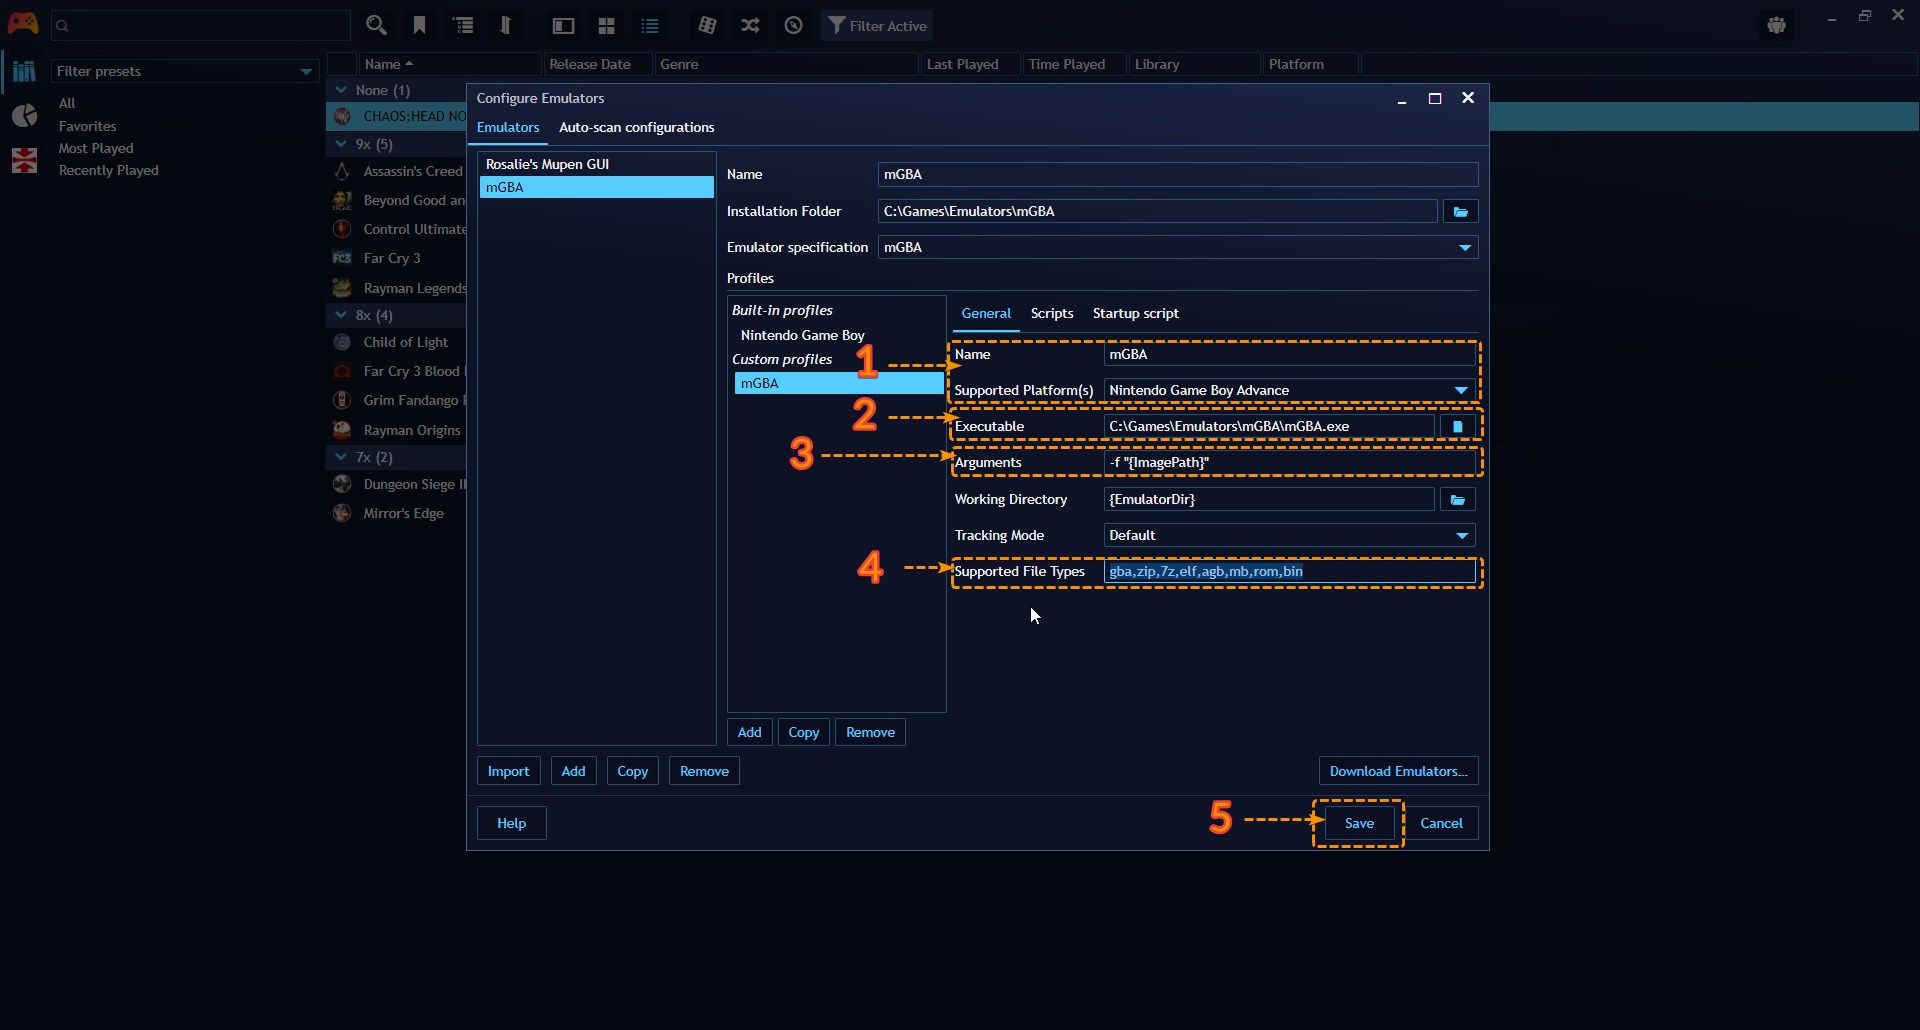
Note
A lot of arcade emulators require ROM file to be passed through a command line argument as a file name without complete path or file name without an extension. In that case you can use {ImageName} or {ImageNameNoExt} (See game variables), instead of {ImagePath} which contains full path to a ROM file.
Emulators properties
Emulator properties
| Property | Description |
|---|---|
| Installation Folder | Emulator's installation folder. Can be passed into profile configurations dynamically via {EmulatorDir} variable. |
| Emulator specification | Built-in emulator specification used for an emulator. Specifies what built-in profiles can be added to an emulator. |
Profile properties
Profiles handle how game is started and imported.
| Property | Description |
|---|---|
| Executable | File path to start an emulator. |
| Arguments | Startup arguments passed to an emulator during startup. |
| Tracking mode | Affects how play time detection works. |
| Working Directory | Working directory set to an emulator during startup. |
| Supported file types | File extensions separated by ,. Used to detect ROM files by this profile. If you need to specify empty extension, use <none>. |
| Scripts | Profiles can execute custom scripts in the same way as game or global scripts. |
Tracking mode
| Property | Description |
|---|---|
| Default | Playnite will try to detect and use the best tracking method automatically. |
| Process | Playnite will track a game as running as long as original emulator process or any of its child processes are running. |
| Original process | Playnite will track a game as running as long as originally started emulator process is running, child processes are ignored. |
| Folder | Playnite will track a game as running as long as some process from Tracking path folder is running. |
Startup script
If your profile contains Startup script code, Playnite will use that instead of general profile settings to launch an emulator. Emulator startup script works in the same way as game startup scripts. The only difference is that emulator script has some additional variables available:
| Variable | Description |
|---|---|
$Emulator |
Emulator selected to launch a game. |
$EmulatorProfile |
Emulator profile selected to launch a game. |
$RomPath |
ROM path selected to launch. |
$PlayniteApi |
Instance of Playnite API. |
$Game |
Game library object for current game session. |