Scripting Support
Playnite offers scripting support, allowing you to extend its functionality through custom scripts. Playnite supports PowerShell scripts, enabling you to automate tasks and enhance your gaming experience.
Note
PowerShell support requires PowerShell 5.1 to be installed on your machine. Windows 7 users may need to install it manually (Windows 8 and 10 include it by default). Playnite currently does not support newer PowerShell Core runtimes (PowerShell versions 6 and newer).
Custom PowerShell scripts can be assigned to game events via Playnite's UI. Unlike extensions that require custom development, game scripts allow you to execute scripts for various game-related events at multiple levels:
- Global: Executed for every game in your library.
- Emulator: Executed for specific emulator profiles used by multiple games.
- Game: Executed for a specific game.
Configured Scripts are executed in the following order:
| Event | Description | Execution order |
|---|---|---|
| Pre | Before game is started. | Global -> Emulator -> Game |
| Post | After game is started running. | Game -> Emulator -> Global |
| Exit | After game has stopped running. | Emulator -> Game -> Global |
Note
All scripts are executed synchronously, meaning that Playnite will wait for a script to finish and will block any other execution, including the UI, as the script runtime runs on the main thread.
Note
Game scripts are not the same as script extensions, which provide extended functionality for more complex scenarios.
Script variables
Playnite provides some built-in global variables that scripts can use to get more information about current game session.
| Variable | Description |
|---|---|
$PlayniteApi |
Instance of Playnite API. |
$Game |
Game library object for current game session. |
$SourceAction |
Custom game action used to start a game. |
$SelectedRomFile |
ROM file selected when running a game with multiple ROMs assigned. |
$StartedProcessId |
Process ID of original started process. Might not be available depending on how a game was started. |
Configuring scripts
Game level:
Select the games you wish to configure scripts for in the Playnite user interface.
Right click the game(s), select
Edit…to open theGame Editwindow and select theScriptstab on top.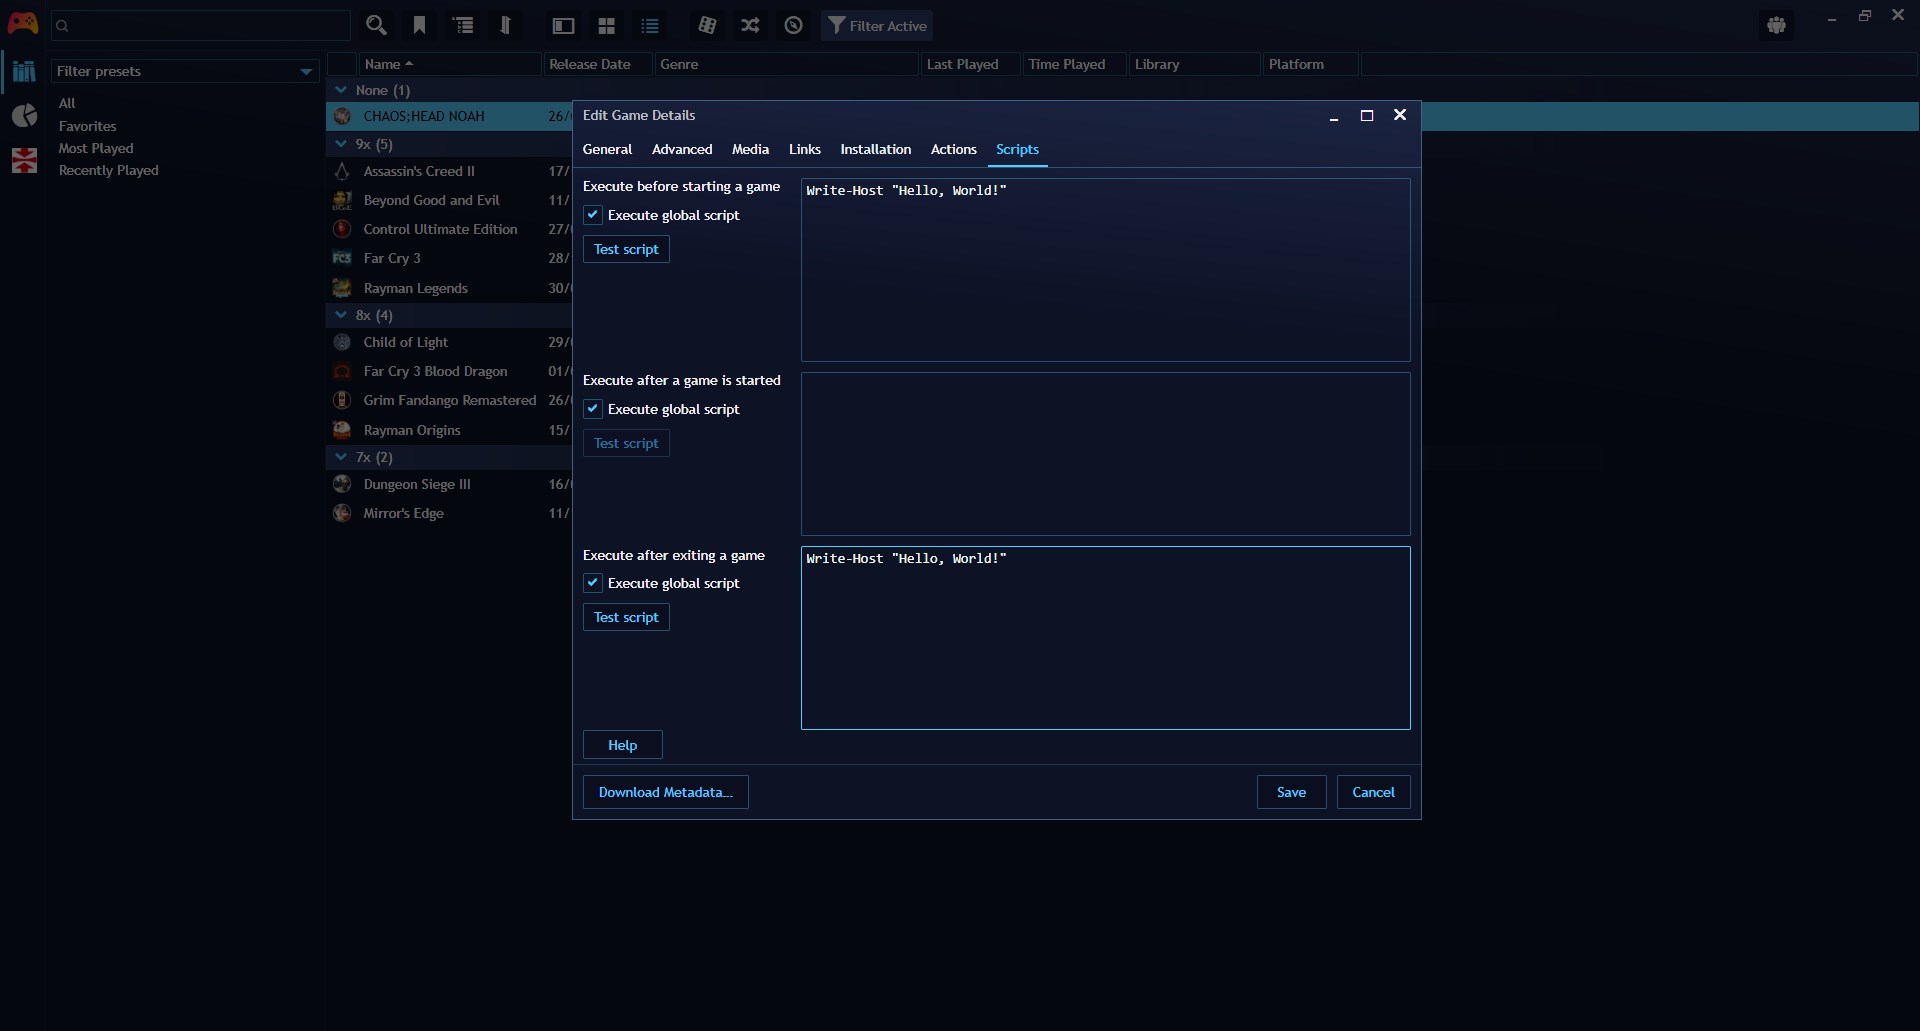
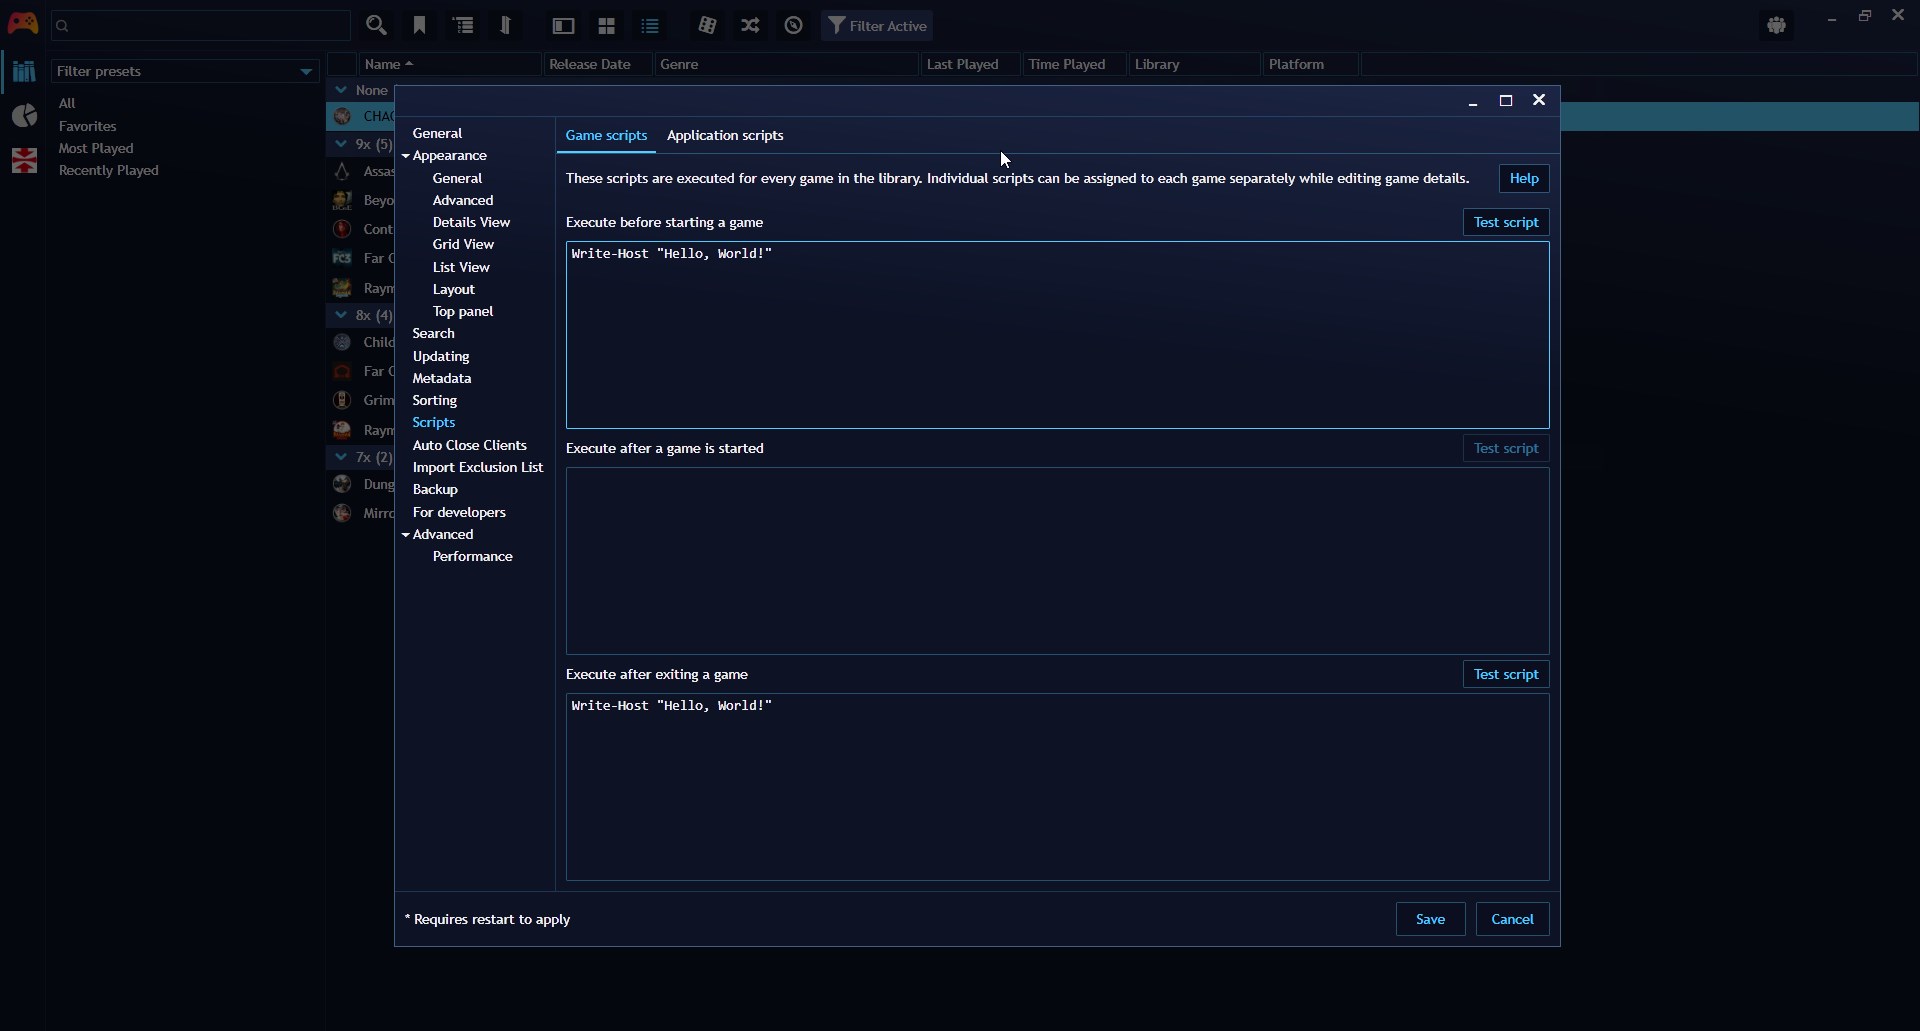
Global Level:
Go to
Main menu>Settings…>ScriptsScripts of this level can be set to be executed on game and application events.
Emulator Level:
Navigate to
Main menu>Library>Configure Emulators…to open the emulators configuration windowSelect a configured emulator, select an Emulator Profile and then select the
Scriptstab on the right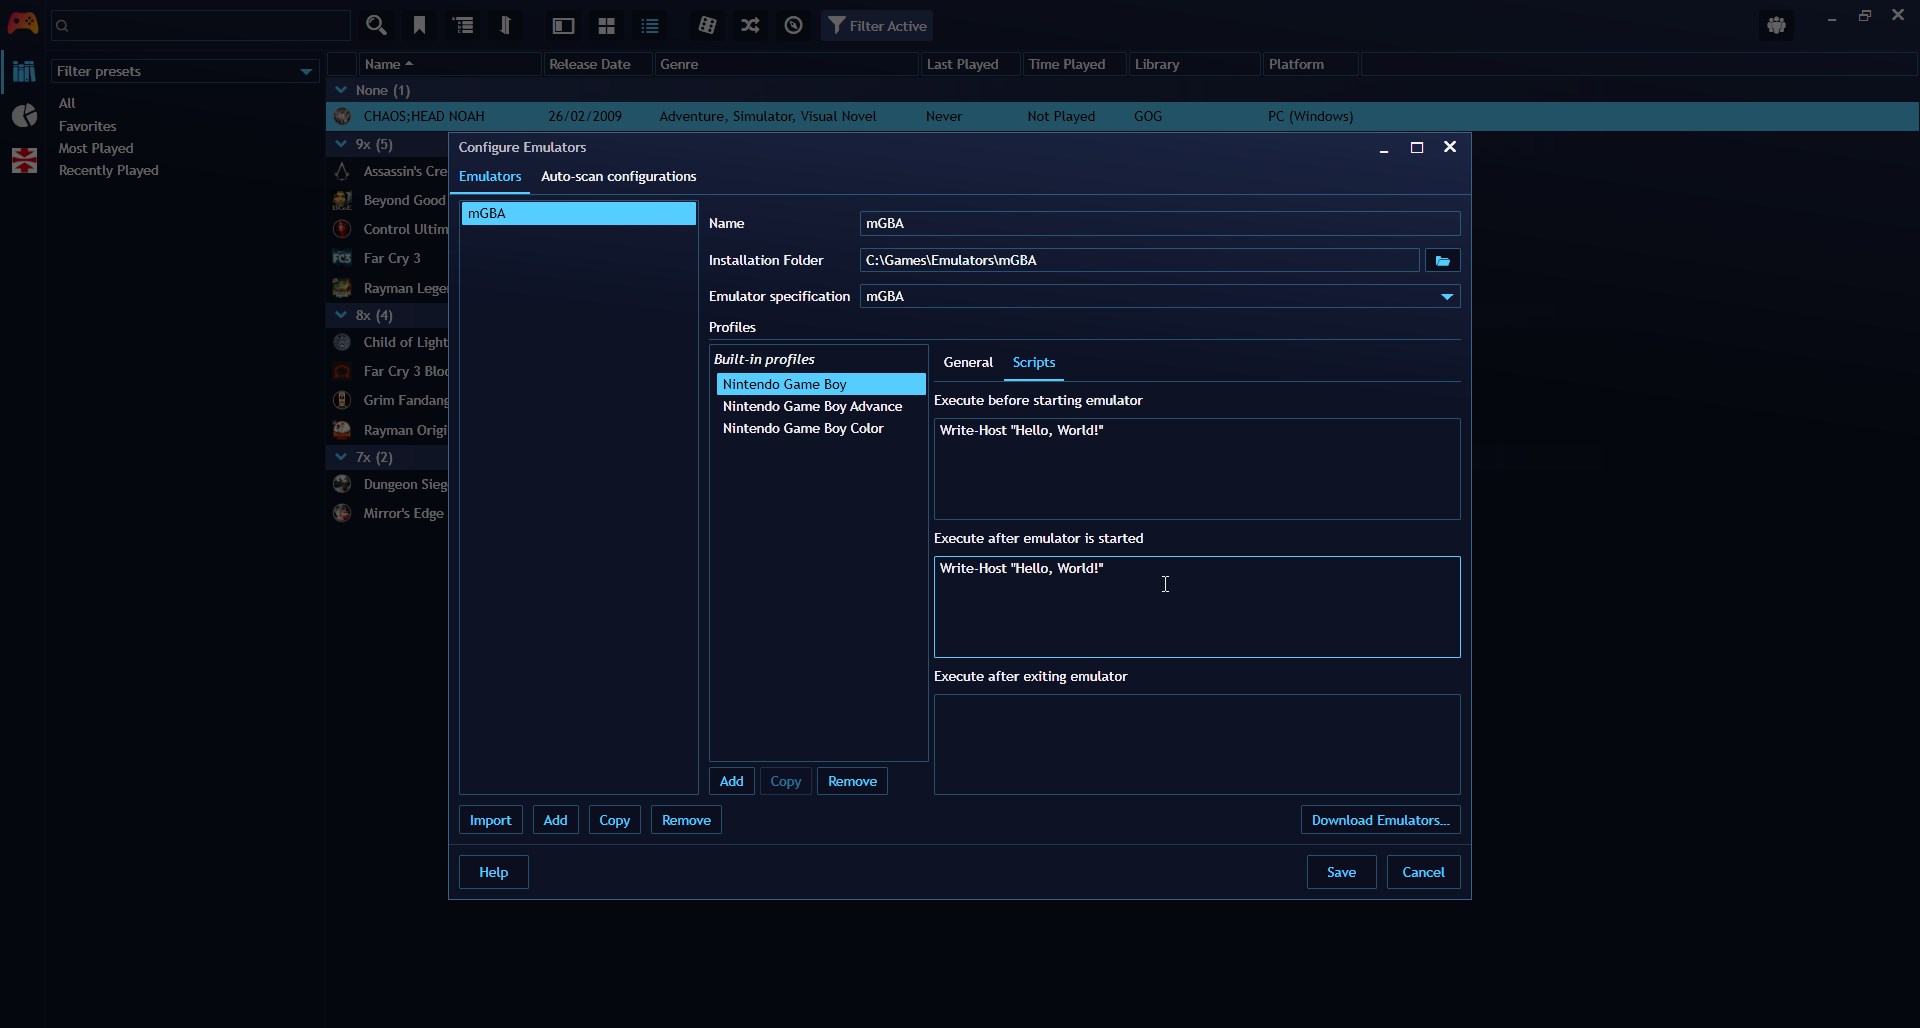
Testing scripts
Testing can be done by pressing the Test Script button if it's available next to the text box where you can input the script. If it's not available, you can open a Powershell window for testing in Main menu > Extensions > Interactive SDK Powershell.
Notes
If a game has an installation directory set and that directory exists, Playnite will set the current working directory of a script runtime to that installation directory.
All scripts share the same runtime environment for a single game session, allowing you to share data between them by declaring variables on the global scope (e.g.,
$global:testVar = "This is a global string").
Cancelling game startup
Game startup is automatically cancelled if the starting script fails with an exception. If you want to manually cancel the game startup, set $StartingArgs.CancelStartup to $true.